Compact drills have revolutionized the way we approach DIY projects and home improvement tasks. These small yet powerful tools have become a must-have for both professionals and DIY enthusiasts. With their compact size and lightweight design, compact drills are perfect for tackling a wide range of tasks, from hanging shelves to building furniture.
In this blog, we will explore the key features and essential tips and tricks for getting the most out of your compact drill. Whether you're a seasoned DIYer or just starting with your first drill, this blog will provide valuable insights and hacks to enhance your drilling experience.
Essential Compact Drill Features to Know
A compact drill is a versatile tool that can handle a wide range of tasks, but understanding its essential features is crucial for maximizing its performance. Key features to consider include torque, variable speed, clutch settings, and the type of chuck.
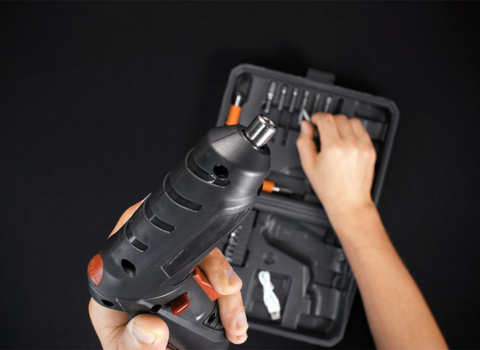
Torque determines the drill's power and ability to drive screws or drill through materials. Variable speed allows for precise control, while clutch settings help prevent overdriving or stripping screws. The type of chuck, whether it's a keyless chuck or a traditional chuck, affects the ease of changing drill bits. By familiarizing yourself with these features, you can ensure that you choose the right compact drill for your needs and make the most of its capabilities.
Understanding Drill Torque and Speed Settings
Drill torque is a measure of the rotational force or power generated by the drill. It determines the drill's ability to drive screws, boreholes, or overcome resistance in materials. High torque is essential for tasks that require drilling into dense materials such as hardwoods or masonry.
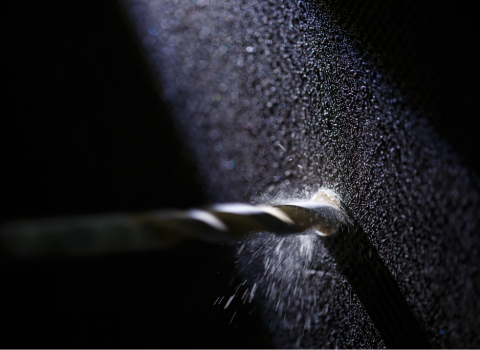
Variable speed settings allow you to adjust the drill's rotation speed to match the task at hand. Lower speeds are ideal for tasks that require precision, such as drilling pilot holes or driving screws into delicate materials. Higher speeds are suitable for fast drilling or driving screws into harder materials.
The clutch settings on a compact drill allow you to control the amount of torque applied to screws. By adjusting the clutch setting, you can prevent overdriving or stripping screws, ensuring a clean and professional finish. Understanding and utilizing the torque and speed settings of your compact drill will enhance your drilling experience and help you achieve optimal results in your projects.
The Importance of the Chuck Type
When choosing a compact drill, don't overlook the importance of the chuck type. A keyless chuck offers convenient one-handed bit changes, ideal for quick tasks. On the other hand, a chuck with a hex bit might be more suitable for specialized jobs. Understanding the chuck type can enhance your workflow efficiency, especially when working in tight spaces where accessibility is crucial. Select the right chuck type to maximize the versatility of your compact drill.
Battery Life: What You Need to Know
To maximize your compact drill's performance, understanding battery life is essential. Choose a drill with a larger battery for longer runtime. Opt for lithium batteries for efficient power. Consider brushless motors that use power more effectively. Ensure the charger matches the battery type to avoid damage. Regularly check and clean the battery contacts for proper connectivity. Storing batteries in cool, dry places extends their lifespan. Be mindful of overcharging, as it can reduce battery efficiency.
Preparing Your Workspace for Maximum Efficiency
Organizing Your Work Area
Keep your workspace tidy and efficient by designating specific areas for your compact drill, drill bits, and accessories. Utilize tool organizers or a pegboard to hang your tools neatly within reach.
Invest in small bins or containers to hold screws, nails, and other essentials. Label everything for easy identification and quick access. Having a well-organized work area not only saves time but also reduces the chances of misplacing tools during your projects.
Selecting the Right Drill Bits for the Job
When choosing drill bits, match the bit type to the material you're working with. For metal, use cobalt or titanium-coated bits; for wood, opt for brad-point bits.

Masonry requires carbide-tipped bits. Consider the size of the hole needed and the desired finish. Use spade bits for larger holes and hole saws for clean cuts. Always have a variety on hand for versatility in different projects.
Safety Gear and Precautions
When using a compact drill, safety should be a top priority. Always wear protective gear such as safety goggles, gloves, and a dust mask to prevent any accidents or injuries.

It's important to secure loose clothing and tie back long hair to avoid entanglement in the tool. Make sure the work area is well-lit and free of clutter to prevent tripping hazards. Prioritize safety by following the manufacturer's guidelines and recommendations for operating the compact drill.
Innovative DIY Jigs for Compact Drills
Creating a Simple Drill Guide Jig
To create a simple drill guide jig, you can repurpose a spare piece of wood with a straight edge. Securely clamp the wood along the desired drilling path to act as a guide for your compact drill, ensuring precision and accuracy in your drilling projects.
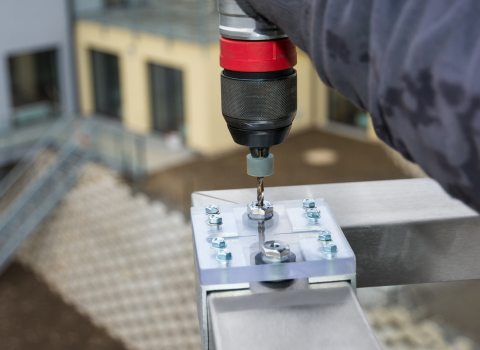
This DIY jig helps maintain straight drilling angles and is especially useful for repetitive tasks, offering consistent results without the need for complex tools or setups. Enhance your drilling experience with this cost-effective and practical solution.
Making a Pocket Hole Jig on a Budget
Craft a pocket hole jig on a budget, and repurpose scrap wood into a simple yet effective DIY solution. Start by cutting two pieces of wood at right angles to create a corner. Then, drill angled holes for your screws to go through, ensuring they align perfectly. Attach a guide block at the top to secure your drill bit angle. This cost-effective jig allows you to create pocket holes efficiently without breaking the bank, giving you precise and professional results for your woodworking projects.
DIY Sanding and Polishing Station
Crafting a DIY sanding and polishing station for your compact drill can elevate your woodworking projects. Start by attaching a sanding pad or polishing wheel to your drill. Secure a sturdy platform to hold your workpiece and ensure stability. Utilize various grit sandpapers or polishing compounds for different finishes. Remember to work in a well-ventilated area and wear appropriate safety gear, such as goggles and a dust mask. This homemade station offers efficiency and convenience for achieving smooth, polished surfaces effortlessly.
Drill Hacks for Everyday Problems
Removing Stripped Screws with a Compact Drill
Stripped screws can be frustrating but fear not, your compact drill can come to the rescue. To tackle this, ensure you have the right drill bit size for the screw head. Place the drill in reverse and gently apply pressure while slowly drilling into the screw. The reverse motion helps to grip and extract the stuck screw. Remember, patience is key to avoid damaging the material around the screw.
Drilling Straight Holes Without a Drill Press
To drill straight holes without a drill press, start by marking the desired hole location with a pencil. Use a small bit to create a pilot hole, ensuring accuracy. Then, switch to the larger bit for the final hole.
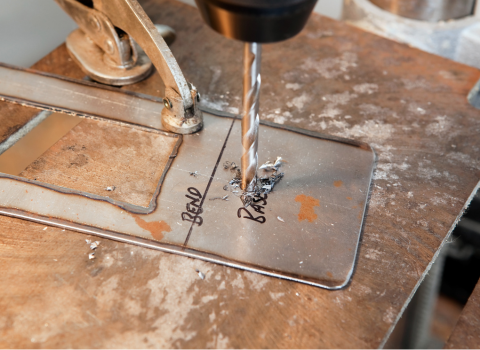
To keep the drill perpendicular, use a level or square against the drill bit. Apply gentle and consistent pressure while drilling to maintain alignment. This technique is handy for precise hole drilling without specialized equipment.
The Ice Cube Tray Hack for Bit Storage
Storing drill bits can be a hassle, but with the ice cube tray hack, keeping them organized is a breeze. Simply repurpose an ice cube tray to separate and store your drill bits efficiently. This clever hack not only saves space but also makes it easy to find the right bit for your next project. Say goodbye to rummaging through your toolbox searching for the perfect size – the ice cube tray hack will streamline your workflow and keep your bits neatly arranged.
Extending the Life of Your Compact Drill
Proper Cleaning and Maintenance Tips
To keep your compact drill in top shape, regular cleaning and maintenance are key. After each use, wipe down the exterior with a damp cloth to remove dust and debris. Periodically, check the chuck for any dirt or obstructions that may affect its performance. Use a soft brush to clean the vents and a gentle cleaning solution for stubborn grime. Remember to store your drill in a dry place to prevent rust or corrosion. Following these simple tips will ensure your compact drill lasts for years.
Battery Care for Longer Lifespan
To prolong the lifespan of your cordless drill, proper battery care is crucial. Always store batteries in a cool, dry place to prevent damage. Be sure to charge them fully before each use and avoid overcharging. Regularly clean the contacts on both the battery and the tool for optimal performance. If storing for an extended period, keep batteries at around 40% charge. By following these simple battery care practices, you can ensure your compact drill is always ready for action.
When to Replace vs. Repair Your Tool
If your compact drill starts showing signs of consistent underperformance despite maintenance and care, it might be time to consider a replacement. However, if the issues are minor and can be fixed without significant costs, opting for a repair could be a more budget-friendly choice. Analyze the extent of the damage, factoring in the repair costs compared to the price of a new tool. Ultimately, making a decision based on the life left in your drill and the feasibility of repair is key.
Creative Uses for Your Compact Drill Beyond Drilling
Crafting with Your Compact Drill
Unleash your creativity by crafting with your compact drill! Beyond drilling, explore its potential in crafting projects. Whether you're making unique wooden creations or enhancing existing pieces, your compact drill can be a handy tool.
Gardening Projects Made Easier
Transform your compact drill into a versatile gardening companion with specialized attachments and techniques. Use it for tasks like digging, planting, or mixing soil effortlessly.
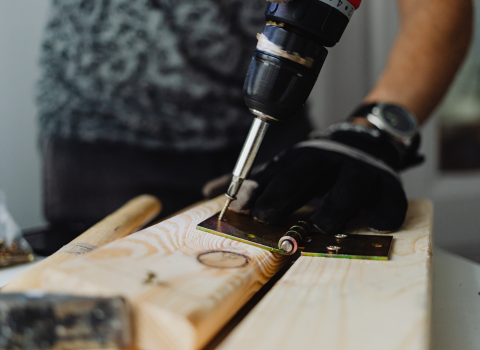
By adapting the power tool to suit your gardening needs, you can save time and energy while achieving professional results in maintaining your outdoor spaces. Embrace the convenience and efficiency of employing your compact drill for various gardening projects, making each task simpler and more enjoyable.
Crafting Mini Bookshelves with Your Compact Drill
Elevate your woodworking skills by crafting mini bookshelves using your versatile compact drill. Dive into a creative project that combines functionality and aesthetics, transforming simple wooden planks into charming additions to your space.

With precise measurements and strategic drilling even in the tightest spots, you can create sturdy shelves that not only showcase your favorite books but also add a touch of elegance to any room. Embrace the art of woodworking with your trusty compact drill as your reliable companion throughout the crafting process.
Transforming Your Compact Drill into a Multipurpose Tool
Attachments That Increase Versatility
Expand the functionality of your power drill with attachments that boost its versatility. By adding specialized accessories like a right-angle attachment or a brushless motor upgrade, you can tackle a diverse range of tasks with ease. These attachments enhance the drill's capabilities, allowing you to work in tight spaces or handle more demanding projects confidently. Upgrade your tool kit with these innovative additions for increased flexibility and efficiency in your DIY endeavors.
Turning Your Drill into a Power Screwdriver
Transform your compact drill into a versatile power screwdriver by simply switching out the drill bit for a screwdriver bit attachment. This handy conversion allows you to effortlessly drive screws into various materials with enough power, precision and ease.
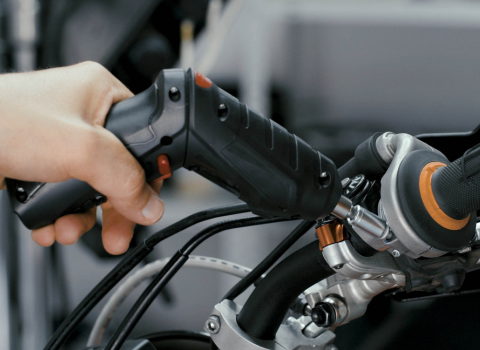
With this hack, you can tackle all your screwdriving tasks efficiently without the need for a separate power screwdriver. Maximize the functionality of your tool by exploring its potential as a power screwdriver for your DIY projects and household repairs.
Converting a Drill into a Mini Circular Saw
To convert your cordless drill into a mini circular saw, consider using a suitable attachment that can transform your electric drill into a versatile cutting tool. These attachments are designed to allow your drill to function like a circular saw, enabling you to make precise cuts in a variety of materials. By utilizing this conversion, you can expand the capabilities of your compact drill and tackle cutting tasks with ease in tight spaces or for small-scale woodworking projects.
What are the key features to consider when choosing a compact drill?
When choosing the best compact drill, key features to consider include the drill's power (measured in volts), battery life, speed settings, chuck size, and whether it has additional features like LED lights or a built-in level. These factors ensure you select a drill that suits your needs and projects.
Recommended Mini Drill or Compact Drill You Can Try at Home
If you're looking for a versatile tool for home projects, consider the SuperDrill from SuperBrand Tools.
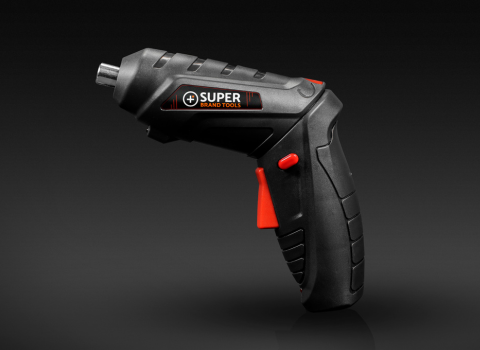
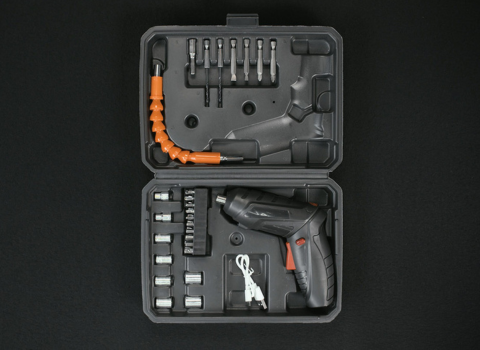
The SuperDrill 3.6 maximum voltage, lightweight drill, is a highly adaptable power tool ideal for any home workshop. It not only drills but also screws and unscrews, providing a complete solution for different tasks. With speeds reaching 250 rpm and an ergonomic handle, it guarantees user-friendly operation. Equipped with a built-in LED light and a lithium-ion battery, this tool is both effective and convenient. Moreover, the cordless drill set includes 42 chuck sizes for various screws and fasteners, removing the need for additional tools.
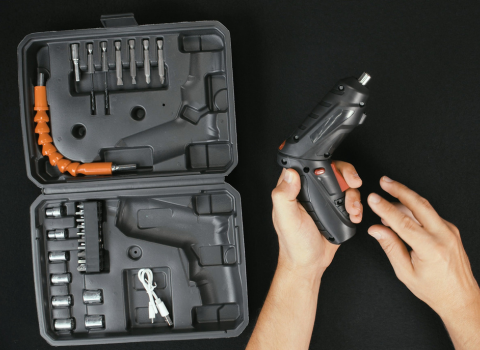
The SuperDrill Full Package includes a wide range of drill bits or drill kit, housed in a durable ABS plastic carrying case that is a quarter-inch thick. Boasting impressive specs, a reasonable price, and a 90-day warranty, this cordless mini drill offers great value.
Conclusion
In a nutshell, mastering the art of compact drills not only saves you time but also enhances your DIY game. Remember, understanding torque for high speed, chuck types, and longer battery life for plenty of power is vital for efficiency. Create a well-organized workspace and utilize the right drill bits for seamless projects. Safety first! DIY jigs and hacks make everyday tasks a breeze—from removing stripped screws to crafting and gardening innovations. Speed up with pilot holes and stay precise with tape tricks. Extend the life of your tool through proper maintenance and care. Transform your drill into a multipurpose powerhouse with versatile attachments. Get ready to elevate your drilling experience!


